So after my son having a very bare room for some time (moving house and wedding) prevented us from decorating, I have finally finished decorating his room. Now, my little boy is obsessed with cars, trucks, bikes or any form of transport so it was easy to figure out what theme we were using.
I spent about a week
I am so happy with the outcome and my little Alfie-James is thrilled with his room.
Please take a look at all the photos below and let me know what you think. I may also do a nursery room tour too if anyone wants to see it. Any questions please feel free to ask. Unfortunately I do not have any before pics to show.
 Firstly I ordered some decal stickers by wallpops which were £19.99 from Amazon. These were really easy to stick to the wall and you can remove them and stick them somewhere else too.
wallpops self adhesive road signs
The wheel bunting is from B&Q but I cannot find a link I'm afraid.

I also ordered these transport decals from Decowall as they have so many different types of transport and are all individual so you can put them anywhere and are also re-positional (not sure if that is an actual word)
These were also from Amazon and cost £13.95
Decowall transport stickers

I had already put up these stickers when we moved so I cannot remember where I got them from but we like to practise our letters so this is perfect.
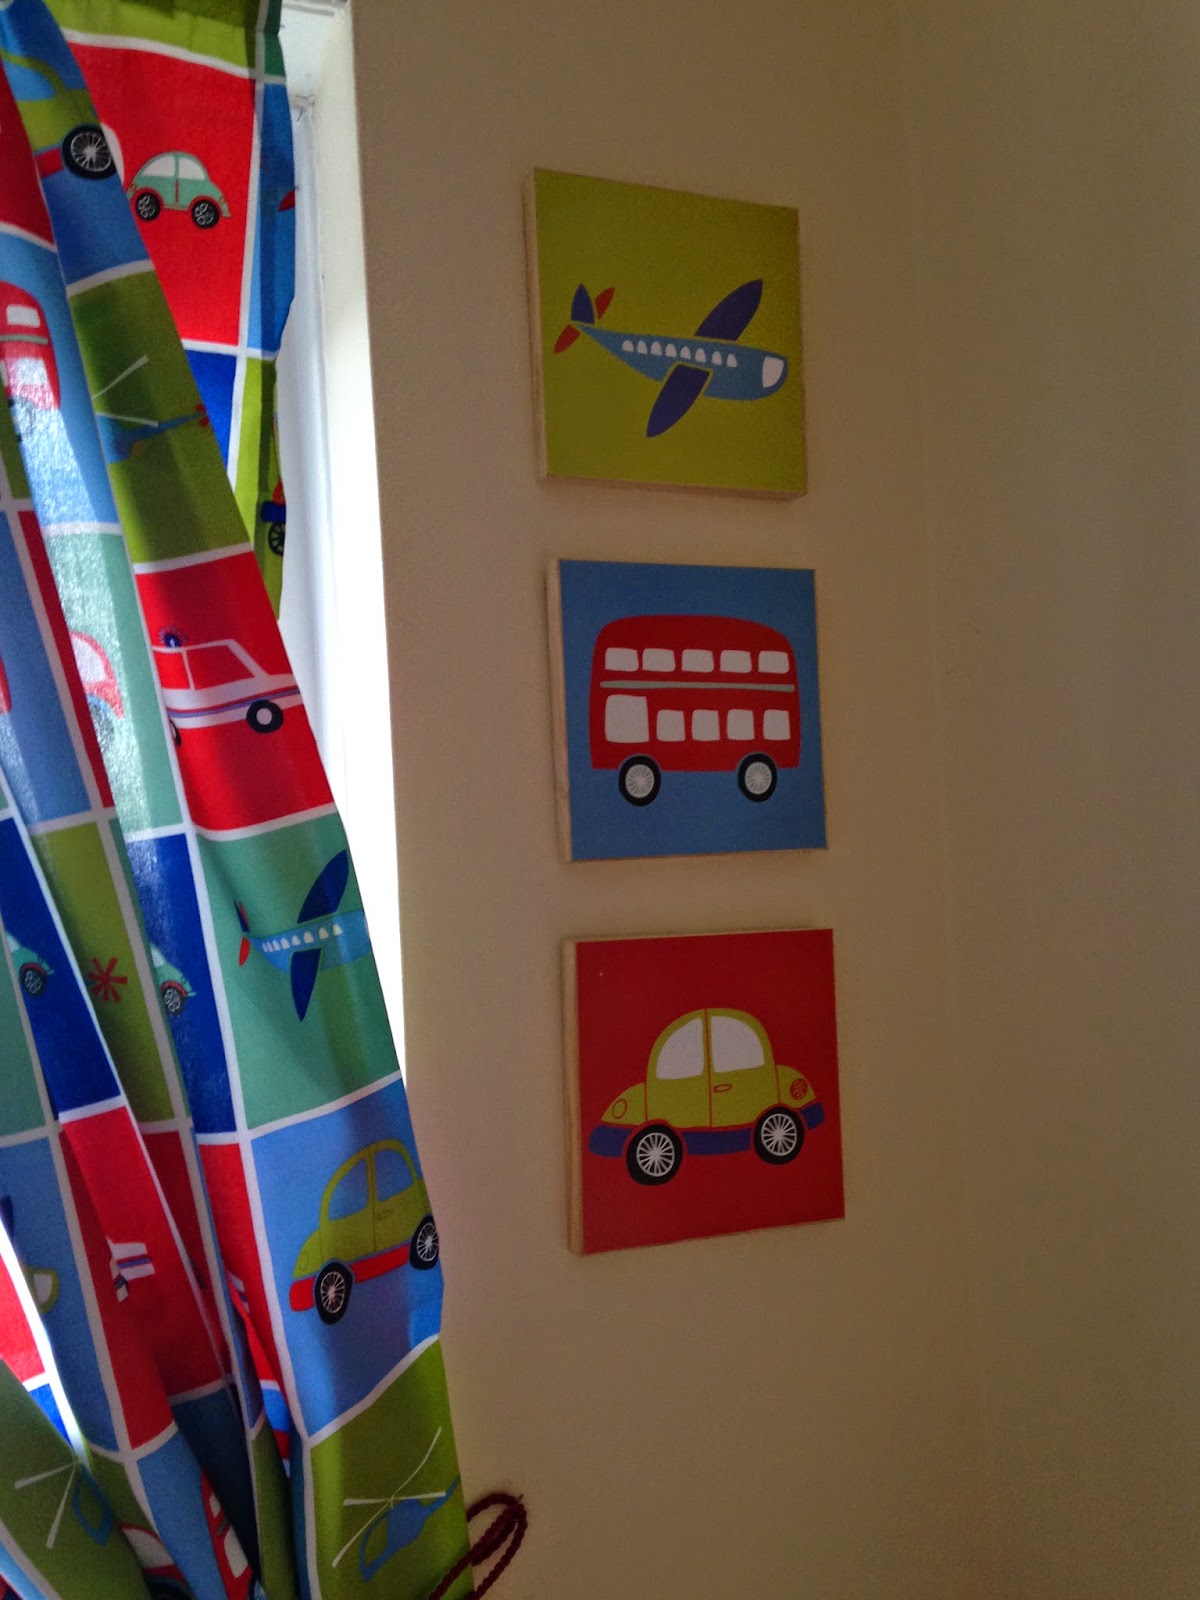
 These are Alfie's new curtains, I love the bright colours and the design. They really frame his window well I think. These were also from B&Q and were £16.
Transport Curtains
 We have bought 2 different sets of blinds but they do not fit, I think its because the window is so wide so we may have to have blinds made to measure. So if anyone has any recommendations for made to measure blinds please send them my way ;)
 The long pic of different transport across the window is actually a puzzle that Alfie had as an early Easter Present off his Aunty. I thought it fit perfectly with the theme of his room and fits perfectly on his window sill. I do not know where this is from so no link I'm afraid.
 I also displayed his Squinkies and his micro cars on his window sill as decoration and I think it all looks really cute. Although how long do you think all cars will be neatly lined up like that?


 The window sill is quite large in Alfie's room so there was plenty of room to add little toys as decoration. The above pic is actually a little storage cabinet that I have had for years but Alfie now uses it to store bits and bobs and to fill his car with petrol, obviously.
The main attraction:
This little bed is absolutely fantastic, it is a really solid, sturdy plastic that will last for years. It is only a toddler bed but claims to last up until the age of 5. It also takes a standard cot bed/toddler mattress and has a solid, slatted base.
I have never seen Alfie so excited, when he saw his bed he told me "It's the best present ever" It is a little pricey at a cost of £279.99 but it is a great little bed and is perfect for any little car lovers.
Roadster toddler bed


 On his storage unit, I put some of Alfie's favourite diecast vehicles. That includes his Disney Car collection and his military/tank collection. I think these look really cute.
 Alfie's storage unit is from Ikea and it is fab quality, it is really sturdy and heavy and comes with everything you need to attach it to the wall. The tubs are really deep and can get plenty of toys in them. You can also buy smaller drawers and change the runners to change the style. The cost of the unit and the drawers was £53 and can be found here.
 Here he is my little fella looking very pleased with his new room.


 These canvas' match the curtains and just add further decoration and colour. These are also from B&Q and cost £15 but I cannot find a link.

 This was a Christmas present Alfie had from his Uncle and Aunty. He is obsessed with this Mini and we regularly go for a cruise to the shops in this. It is from ToysRus and costs £69.99 which can be found here


Please take a look at all the photos below and let me know what you think. I may also do a nursery room tour too if anyone wants to see it. Any questions please feel free to ask. Unfortunately I do not have any before pics to show.
wallpops self adhesive road signs
The wheel bunting is from B&Q but I cannot find a link I'm afraid.
I also ordered these transport decals from Decowall as they have so many different types of transport and are all individual so you can put them anywhere and are also re-positional (not sure if that is an actual word)
These were also from Amazon and cost £13.95
Decowall transport stickers
I had already put up these stickers when we moved so I cannot remember where I got them from but we like to practise our letters so this is perfect.
Transport Curtains
The main attraction:
This little bed is absolutely fantastic, it is a really solid, sturdy plastic that will last for years. It is only a toddler bed but claims to last up until the age of 5. It also takes a standard cot bed/toddler mattress and has a solid, slatted base.
I have never seen Alfie so excited, when he saw his bed he told me "It's the best present ever" It is a little pricey at a cost of £279.99 but it is a great little bed and is perfect for any little car lovers.
Roadster toddler bed
DIY Project
I bought a plain, black desk lamp and used acrylic white pain to create a road look and then super glued several hot wheels cars to it and there you have it. I cannot take credit for this idea, I found this on Pinterest which took me to a fab blog Bliss Bloom Blogs where a much better version of this lamp is made but I dont think mine is too bad for a novice arts and crafter.
I have seen this idea loads on Youtube and I think its brill. These shelves are actually spice racks from Ikea and only cost £3 each but they make great book shelves. I put these at just the right height so Alfie can choose his story. You can find these here
This was actually my hubby's idea, this was an old train track that Alfie no longer played with so we attached it to the wall and glued the trains to it as DIY wall art.
I think these play mat/rugs are brill and Alfie loves running little cars around the "roads" This is also from B&Q and cost £12 and you can get them here.
 |
| His garage that he loves playing with |
 |
| I dotted some of Alfie's favourite toys around his room. |
I thought this little snow suit was a great little accessory to the room and makes it look like a right little racers room. This was also a gift so Im not sure where this is from.
DIY Project
I first saw this on pinterest as a way to store away your childs matchbox cars, the original post is from Lo and behold life blog and this very clever mummy is now selling these wall garages which are called 'Mom where's my car wall garage'. You can find the blog here. I wasnt sure if these were shipped to the UK so I thought I would have a go at re-creating this garage. I bought 2 cheap, slatted shoe racks and glued the 2 slatted racks together, one on top of the other. I then painted these a bright red and attached them to the wall with little brackets. I think this looks great, its super quick and easy and Alfie was amazed by it.
Here are just a few snaps of the room as a whole, I loved the whole process and this room has turned out exactly how I wanted it to and made my little boy a very happy chap. He has hardly left his room in the past couple of days so it makes it all worth while.
Thanks for stopping by guys and if there is anything you want to know, please feel free to ask.
Take care guys
Adele xxx
 Visit Pinterest's profile on Pinterest.
